Saturday, May 21, 2011

Dry Hopping the Belgian IPA / Planting the Hop Crop

Biere de Table
I finally got around to dry hopping the Belgian IPA after about two weeks of fermentation and a week of cold crashing. I first pushed the beer through a new 5 micron filter from Northern Brewer and then through an older 1 micron filter into a keg with the 2 ounces of Centennial dry hops. I've started to find that (new filters especially) leave an unpleasant flavor in the filtered beer, and I think this was the case for the IPA. I hope this flavor will drop out or that the dry hops will cover the flavor, but I'm worried the beer won't quite recover. I'll have to either buy different filters from now on or forgo filtering all together. The more I've brewed recently, I've found that kegging/filtering produces a worse beer than simply bottling so I'll have to figure out how I want to condition my beers in the future.

2 ounces of Centennial for dry hopping
The 5 micron filter covered in yeast after filtering the IPA
I also finally had the chance to plant my hop rhizomes. After planting the Columbus rhizome I received a while ago in a pot, and almost killing it repeatedly, I hope that it'll take in the mound of soil I prepared for it. It seems like there are a few new roots that'll take to the backyard planting. I planted the Organic Cascade and Northern Brewer rhizomes I received last week as well. The rhizomes seemed incredibly weak, and the Northern Brewer rhizome seemed completely dead and decomposed. I planted both, so I'll have to see what comes from these three rhizomes. I'm hoping that whatever is alive in these rhizomes takes hold and gets going soon. If I get any yield from these rhizomes, I'll be brewing with these hops sometime in August or September, which could make for some great fall and winter beers.

The organic cascade (top) and the northern brewer (bottom) rhizomes


Sunday, May 8, 2011

Bottled Biere de Table and Biere de Garde

Filling the Biere de Garde
After a month and a half of fermentation and conditioning for the Biere de Table and a month of fermentation and conditioning for the Biere de Garde, both beers have been bottled. For the Biere de Table, I bottled in bomber bottles with 4 oz. of cane sugar. This should produce roughly 3.0 volumes of CO2, a bit more than I typically carbonate my beers to. Since it's a Belgian Ale, I'm thinking the additional carbonation should work well with the style.

The Biere de Garde should be even more carbonated as I added 7 oz. of corn sugar, which should result in about 4 volumes of CO2. I chose to bottle for the first time using Belgian 750 mL bottles using a cork and cage to seal the bottle. The heavier glass and cork should resist the force of the carbonation and allow for this beer to be heavily carbonated. It's a fairly strong beer at about 7.7% ABV with a final gravity of 1.010, and the additional carbonation should help to thin out the perception of the final beer, leaving it light and aromatic. The beer that was left un-bottled tasted great. A nice balance from the rye malt, the oats, and the cascade hops really comes through. It should be a great beer for summer.

A bottle of Biere de Garde being filled

The Belgian IPA was also transferred into a keg to cold crash the yeast after two weeks of fermentation. Fermentation ran very warm; it started at 68 F, ramped up to 80 F, then up to 85 F and even 90 and 95 F at one point. These high fermentation temps helped to impart some strong estery and phenolic flavors that I think will play well off of the citrusy and spicy Centennial hops. Once most of the yeast has been cold crashed to the bottom of the keg, I'll filter out the yeast and transfer the beer into another keg and onto the 2 oz. of Centennial for dry hopping.
The Biere de Table in the background (capped)
and the Biere de Garde in the foreground (corked and caged)

Tuesday, May 3, 2011

Water Test

After about three quarters of a year of tinkering with various salts to enhance either the malt or the hop flavors in finished beers and at least 2 years of using 5.2 pH stabilizer to find the correct mash pH, I finally have the exact values of six of the key ions in my water that are central to brewing. 

Calcium, bicarbonate, chloride, sodium, magnesium, and sulfate are the ions that play the biggest part in brewing water chemistry. Thanks to John Palmer's How to Brew, I knew to look for these values when I looked into testing my well water. The results of the test are below:

As I had expected, I found that our well water is incredibly soft. However, without these values I would have had little knowledge of our water's capacity to buffer the mash. Using John Palmer's nomograph I was able to utilize my level of water hardness (determined by mg/l [ppm] levels of calcium and magnesium) in comparison with my water alkalinity ("alkalinity as CaCO3") (determined by mg/l levels of alkalinity) to find the amount of residual alkalinity as CaCO3 when mashing. This value indicates the mash pH of a beer mashed using only a light base malt, which would have little ability to acidify. If I was to mash pure pilsner malt for instance, my mash pH would come out to ~5.7, a pH that is slightly higher than the desired range of 5.2-5.5. 

In order to find a mash composition that would produce a mash within the correct range, the nomograph also provides a beer color scale. This scale indicates the color of the beer you should be brewing, based on your water's buffering characteristics, and assumes you are not using either acid nor salts to alter the chemistry in any way. Based on this color scale, I should be able to take my unaltered tap water and mash a beer of ~7-13 SRM (yellow to light orange) without the use  of acid or salts. Now I'll be able to adjust my water profile to brew any beer that is either lighter or darker than this SRM range and still be able to find the correct pH range.

In addition, the mg/l values of calcium, chloride, sulfate, and bicarbonate will help me to accurately alter my water's profile to more closely model the water used when brewing various styles. Due to my water's extremely soft profile, I should be fine brewing a Czech pilsner if I ever feel the need to. Knowing these values will also allow me to "Burtonize" water when brewing an English Bitter or to build up levels of carbonate when brewing Irish  Dry Stouts.

It looks like according to these numbers, my most recent brew, the American IPA, should have been spot on as far as mash pH is concerned. I added a small amount of calcium sulfate and hit about 5.4 pH. I will have to continue measuring mash pH using the pH meters I purchased a while ago and see how accurate the nomograph method is with respect to predicting mash pH, but I hope that it at least gets me in the ballpark.

The English Pale Ale with American hops finally kicked about a week ago so I'm currently trying to cold crash the German Kolsch that I've had in a keg for a while now. There still seems to be quite a bit of yeast/sediment that is hindering the flavor of the beer, so I hope with a bit of time in the kegerator at about 35-40 F the sediment will slowly fall to the bottom of the beer. The Scottish Wee Heavy and the Barleywine are both bottled and are conditioning, and the Biere de Table and Biere de Garde have finished fermentation and are conditioning in a keg and carboy respectively. 

The Belgian IPA is just about wrapping up fermentation after a week and a half of fermentation starting at 68 F, up to 80 and 85 F after a few days, and even up to 90 F at one point. Unfortunately I can't maintain such a high temperature at 90 F, so the temperature eventually fell and is about 80-85 F. The IPA should go into a keg in the next few days to cold crash the yeast, then through a 5 micron filter into another keg, and dry hopped for about 7-10 days.

Sunday, April 24, 2011

#12 American IPA (that turned into a Belgian IPA)

After brewing lots of beers that have tended towards the maltier and less hoppy end of the beer style continuum, I thought a big aromatic, resinous American IPA would be a great beer to brew in order to change things up in my recent brewing trend.

One of my favorite American IPAs and a favorite beer in general has been Bell's Two Hearted Ale. I brewed my first clone of this beer a year and a half ago, and I've wanted to take another shot at it for a while now. I altered my original clone recipe that I had found online in favor of more toasted malts like Vienna and Victory to provide that "warm" malt flavor found in Two Hearted, and I went from six ounces of hops to a total of ten ounces of Centennial hops. The hop additions could definitely be overkill, but then again, with American IPAs, there's no such thing as "too hoppy". I chose to hop this beer in a method somewhat similar to the "hop bursting" technique, with a large number of IBUs coming from late hop additions in the boil and a few coming from early additions and first wort hopping.


Bell's Two Hearted Ale (clone #2)

Batch Volume (Gal): 6.00
Pre-Boil Volume (Gal): 6.33

Total Grain (Lbs): 14.25
OG: 1.069   (aimed for 1.064)   Anticipated FG: ~1.012 - 1.010   
Anticipated ABV: ~7.5% - 7.8% (should be ~7%)

IBUs: 60.9 (should be 62 IBUs)
SRM: 6.7
Brewhouse Efficiency: 78%
Boil Duration: 65 min

Grain                                               (Lbs/oz.)   (%)
British 2-row Pale Malt (Pearl)         11            77.2
Vienna Malt                                      2.25         15.8
Victory Malt                                      8 oz.         3.5
Crystal 20                                          8 oz.         3.5

Hops            (AA%)   (IBU)   (Oz.)     (Boil[min])
Centennial     10         15.8      0.5    First Wort Hop
Centennial     10          8.5     0.25             60
Centennial     10          8.7      0.5              30
Centennial     10          6.8     0.75             15
Centennial     10          6.8        1                10
Centennial     10          5.7        1                 5
Centennial     10          8.5      1.5                2
Centennial     10           0        2.5               0
Centennial     10           0          2           Dry Hop

Yeast
1200 mL starter of Safale-05 was infected with lactobacillus. Yeast cake from Biere de Table secondary pitched in its place.

Water
3/4 tsp Calcium Sulfate (in mash) (mash pH ~5.4)
1/4 tsp Calcium Chloride (65 min)
1/2 tsp yeast nutrient (10 min)
1 Whirfloc tablet (10 min)

The 8 oz. of hops used in the boil (left) and the 2 oz. of dry hops (right)
I mashed in at 1.5 qts/lb for 60 minutes. The mash hovered around 151-150 F. I added CaSO4 every few minutes in an attempt to lower the pH of the mash. Not sure how accurate the pH test strips I bought from Northern Brewer are, but it appears that due to my water's chemistry, relatively pale beers hit the higher end of the optimal mash pH range (~5.4 - 5.5). The 3/4 tsp of CaSO4 appeared to lower the pH a small amount and allow the enzymes to provide proper conversion. The sulfates should also help to make the hop flavor and hop bitterness crisp and bright. 

A pint of Scottish 60 Schilling Ale
I finally had a water test done that will give me the ppm levels of bicarbonate, magnesium, calcium, sulfate, chloride, and sodium. Unfortunately I didn't get the results back in time for this particular brew. The information should help me hit the correct mash temperature based on the chemistry of my water, the beer I'm brewing, and allow for additional salt additions in order to produce a water profile that will suit the style of beer.

I tried to mashout at 170 F but only reached about 160 F for a few minutes. Adding near boiling water had little effect on the large mash, so the mash failed to reach 170 F. Reaching 160 F should have at least made any enzymes that would have otherwise dried out the beer less effective, maintaining the body sugars produced by the 151-150 mash temperature.

The wort looked similar to the way it did with the last brew; it was much clearer without the use of 5.2 pH stabilizer. There was much less protein in this brew relative to the Biere de Garde, but there was still the visible coagulation of protein during the boil.

First wort hop addition while collecting the wort
Since this IPA would be dosed with so many large hop additions, I chose to brew using whole flower hops rather than pellets. Pellets would create a huge slurry of hop particles that would have been difficult to strain from the wort post-boil, so going with whole flower hops allowed me to separate the hops from the wort using the "bazooka" screen in the boil kettle. It was great seeing so much hop flowers going into the boil and anticipating the incredible amount of flavor and aroma the Centennial hops will impart in this beer.

Hops during the boil
The brewday was going just about perfect, so of course there had to be at least one aspect of the day that had to go completely wrong. As I was aerating the beer with the aquarium air pump for 30 minutes (I chose not to use pure oxygen since I have not yet been able to see how it influenced the flavor of the Biere de Garde) I poured off the spent wort from the yeast starter I brewed for the Safale-05 ale yeast. As I poured I thought "wow, someone left their spent yogurt container out" only to realize that sour, tart yogurt-like aroma was coming from my yeast starter. Upon tasting it, I realized it tasted like yogurt; extremely tart and sour. I was crushed to have brewed a beer with so many ounces of expensive hops, only to have my yeast ruined by a lactobacillus infection. 

Luckily the two previous brews had plenty of yeast at the bottom of both carboys to repitch into the IPA wort. I chose to rack the Biere de Table into an empty keg and repitched the 3725 Biere de Garde yeast slurry into the IPA. Hopefully the flavors in the Belgian yeast will play against the aromatic, citrusy Centennial hops well. I love Belgian IPAs, so this may turn out to be a great beer and a fortunate mishap.

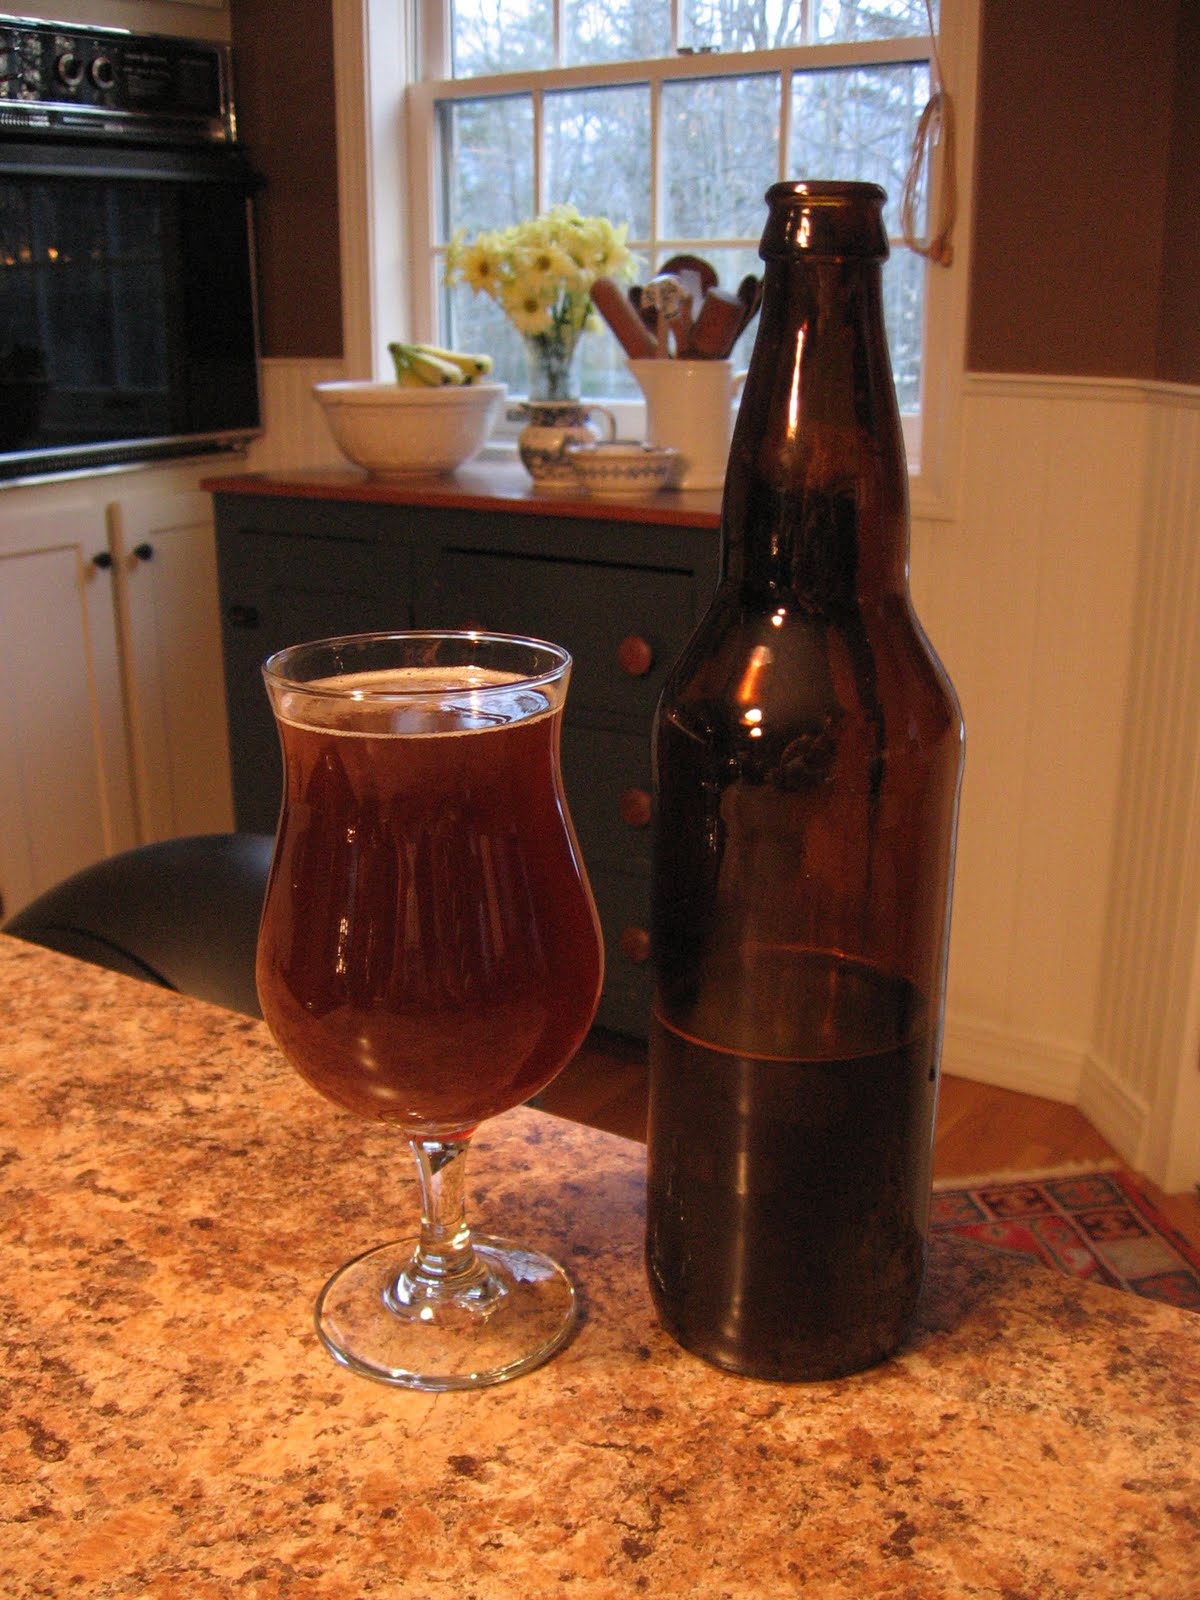
A bomber of the Belgian Dubbel

Sunday, April 10, 2011

#11 Biere de Garde

After letting the Biere de Table sit in the fermenter after a surprisingly long fermentation at 70 F, I wanted to repitch the Wyeast 3725 Biere de Garde yeast in a higher gravity Biere de Garde brewed for summer. I had intended to sour a portion of the base malt in a mash a few days before brewing this beer but realized I couldn't brew this upcoming week. I'd like to get into sour mashing at some point, but that may have to be at some point this summer.

Rye malt is one of my favorite adjunct malts and I wanted to brew a beer that would benefit from the spicy, tangy flavors it produces. I've used it before in a Rye Pale Ale that came out a bit too spicy, so I chose to lower the percentage of the rye malt in the grain bill from 13% (as in the Rye Pale Ale) to 5.4% for the Biere de Garde. Together with the same proportion of Biscuit malt, I'm hoping this beer ends up fairly bready, spicy, and tangy from the specialty malts used, as well as the Belgian yeast.

Biere de Garde

Batch Volume (Gal): 5.66
Pre-Boil volume (Gal): 6.33

Total Grain (Lbs): 14
OG: 1.068   Anticipated FG: ~1.012 - 1.008   
Anticipated ABV: ~ 7.4% - 7.9%

IBUs: 32.6
SRM: 7.4
Brewhouse Efficiency: 74%
Boil Duration: 65 min

Grain             (Lbs/oz.)    (%) 
Pilsner                 11          78.6
Rye Malt           12 oz.       5.4
Biscuit Malt      12 oz.       5.4
Wheat Malt       8 oz.        3.6
Flaked Oats       8 oz.        3.6  (unmilled)
Crystal 20          8 oz.        3.6

Hops                       (AA%) (IBU) (Oz.) (Boil[min])
Northern Brewer     10.6     21.2    0.5          60
Cascade                     7.4       7.5    0.5          30
Northern Brewer     10.6      3.9    0.55          5
Cascade                     7.4        0     0.55          0

Yeast
Wyeast 3725 Biere de Garde (repitched 130 mL 
of thin yeast slurry from Biere de Table)
Aerated wort with pure oxygen for 25 seconds

Water
1/4 tsp Calcium Chloride (in mash) (mash pH ~5.4)
1/4 tsp Calcium Sulfate (65 min)
1 Whirfloc tablet (10 min)
1/2 tsp yeast nutrient (10 min)

I chose to, for the first time in a long time, mash this beer in without 5.2 pH stabilizer to see how well the grains would buffer the mash alone. At 5 minutes during the 60 minute mash, I was surprised to see the mash was close to the optimal 5.2 - 5.5 pH range for starch conversion. I added a small amount of calcium chloride to see how much the addition would lower the mash pH. The calcium chloride produced a small decrease in pH to the 5.4 pH I was hoping for. Once I can get a water test done, I should know exactly how to add calcium chloride and calcium sulfate in varying ratios to lower the pH of the mash into that ideal range, while also providing ions to the mash that will ultimately enhance the flavor of the beer. My past additions of salts in the boil have only provided flavor, but calcium in the mash will be a great substitute for the 5.2 when mashing as the 5.2 contributes too much sodium in the final beer.

Testing the mash pH after the calcium chloride addition at 15 min
I mashed for a total of 60 minutes at about 151-150 F which should produce a fermentable wort, resulting in a dry, high alcohol beer for summer drinking. I also chose to try a quick "mashout" by bringing up the wort that was collecting in the boil kettle to 170 F. Typically the wort that collects in the boil kettle is anywhere from 140 - 120 F, so I've always been concerned that there are still enzymes that have yet to be denatured by high temperatures and they continue to eat the sugars produced by the chosen mash temperature. In order to retain those sugars that will provide body in the finished beer, I'll have to experiment with raising the wort temperature to mashout (170 F) to help retain the character of the wort produced during the 60 minute mash. There is always the chance however that there is no additional enzymatic activity after the 60 minute mash and no additional "drying" of the beer occurs.

The new heat shield / wind shield
During the sparge the wort came out a bit cloudy, and I'm assuming this was due to the high protein content of the wheat malt, the rye malt, and the flaked oats. One of the big differences I noticed in the brewing of this beer without 5.2 was how the wort looked throughout the brewing of this beer. The wort began very cloudy (but tasted fine) but quickly cleared during the boil. I've never seen protein coagulation during the boil itself (other than hotbreak). The wort was so clear that I could see protein chunks floating  as the wort boiled. When using 5.2, the wort has been too cloudy during the boil to see anything. Once I chilled, the wort clouded up again, and only until I chilled the beer back down to 60 F did the wort clear once more as protein recoagulated. The finished wort came out of the boil kettle and into the fermenter crystal clear, so once this beer bottle conditions and the yeast drop out of solution, this could end up being a bright golden Belgian ale for summer.

I used my new oxygen system to infuse in a higher ppm of pure oxygen into the wort than I have been able to in the past by only using an aquarium air pump. By aerating wort with an aquarium air pump or splashing the wort in the fermenter, 8 ppm is the maximum amount of oxygen that can dissolve into the wort, and this number decreases as wort OGs get higher (1.060 and up). So at least when I'm brewing a beer over an OG of 1.060, I'll be using this new oxygen system to reach 8+ ppm of oxygen in the finished wort. This system is much faster and cleaner as well, only taking 25 seconds to properly aerate wort. That's opposed to the aquarium air pump that takes 30 minutes, doesn't aerate the wort sufficiently, and produces a mess as the beer foams up and spills out of the fermenter.

Coagulated protein in the boil
Using the oxygen system
Hopefully I will be able to dial in the amount of oxygen I need (or the amount of time needed to bubble oxygen through the wort) in order to get a good fermentation. High oxygen levels could result in watery, character-less beer and/or cell death (producing off-flavors from cell autolysis) however, so I'll have to make sure I never go overboard when diffusing oxygen.


I'll be waiting a while until the next brew. Not sure when I'll have another chance to brew, but I'd like to brew an American IPA for late spring / early summer anyway, so waiting won't be a problem. I'll be brewing a Bell's Two Hearted IPA clone with a total of 10 oz. of whole leaf Centennial hops. Two Hearted is one of my favorite IPAs and one of my favorite beers, and it will be great to get another chance to clone this amazing beer (this is attempt number two).

The Columbus hop rhizome is now a little hop plant. It's been doing well in the pot with the amount of sun we've had in the last few days. Leaves on each of the 3 larger bines are starting to unfurl and it's growing fairly quickly. Once the other two rhizomes arrive and all the snow finally disappears in NH, I'll have to plant them outside and build a small trellis to start guiding their growth.


Tuesday, April 5, 2011

Starting the Hop Crop

I was glad to receive my Columbus hop rhizome yesterday from Northern Brewer. I'm still waiting on the organic Cascade and the Northern Brewer rhizomes I have coming, but I thought I should get the Columbus rhizome in some potting soil as soon as possible. It already had a few bines starting to grow so it should take easily to the soil and be healthy once winter is over in NH and I can finally plant my hops out in the backyard. Although the first year's yield will probably be low, I should have a few ounces of dried hops (or wet) to dry hop or finish hop a few "hop harvest" IPAs.

The Columbus rhizome

I got around to bottling the two biggest beers I have ever brewed last weekend. The Wee Heavy was bottled after two weeks of fermentation and one week of conditioning. I'm a little concerned I bottled a little too early however as the final gravity was a little high for a finished Wee Heavy (FG 1.028). Hopefully the yeast will only ferment the 3.5 oz of priming sugar I added and there are no residual sugars that they can eat. I'd hate to have this beer be ruined by over-carbonation as it should be one of the best beers I've brewed so far. The "laurabelle" Barleywine I brewed back in February has been ready to bottle for a while now, and I wanted to let it age in bulk before dividing it into separate 12 oz bottles. I filled about 42 12 oz bottles, mostly of the Sierra Nevada stubby type of bottle, which I think really suits the Barleywine (or other strong ales) style. Soon I'll be labeling the brew and finishing the caps with bottle wax.

I plan on souring about a pound of pilsner malt soon for the soured Biere de Garde I have planned next. Should be a great brew for warm summer nights, if souring a portion of the mash turns out to be a good idea. 

After doing some research, the Wyeast 3725 Biere de Garde yeast actually sounds like it's more of a Saison yeast, a yeast from the Fantome brewery in Belgium. The Biere de Table fermented for an abnormally long time at about 70 F, only slowing a couple of days ago (8 days of fermentation for a 1.052 OG beer is somewhat unusual in my experience). The Biere de Table brewed two weeks ago and the upcoming soured Biere de Garde may actually turn out to be more Saison-like, which would be great for summer drinking. Saison is one of my favorite styles, so I wouldn't mind if these brews resemble the Belgian side of the Farmhouse ale tradition, although I wouldn't mind if they are still reminiscent of the French Biere de Garde Farmhouse ale style either.

Thursday, March 24, 2011

#10 Biere de Table

For my first beer with the Wyeast 3725 Biere de Garde yeast, I chose to go with a sessionable Biere de Table. I've never actually had a Biere de Table, but it seems like a more traditional take on the Biere de Garde style. With most modern Farmhouse ales (Biere de Garde and Saison), the alcohol level has steadily increased, especially in the American Craft  interpretations of these styles. I thought that a more reserved and traditional version would be better for spring and aimed for an original gravity of about 1.043, which would have given me a beer of about 3.5% ABV.

I was also excited to begin using starters prior to fermenting each batch of beer. After repitching yeast cakes from previous brews for the past few months and experiencing how much repitching fresh yeast has improved the quality of my beers, I thought making a starter prior to each batch was the next best step to take as I try to improve the quality of my beer. Starters should allow me to pitch a population of healthy, nourished yeast that is large enough to cleanly ferment beers of varying strengths. 

The starter being stirred (after 1 day)
Biere de Table

Batch Volume (Gal): 6.00
Pre-Boil Volume (Gal): 6.16

Total Grain (Lbs): 10
OG: 1.052   
Anticipated FG: ~1.012   
Anticipated ABV: ~5.3%

IBUs: 23.1
SRM: 7.6
Brewhouse Efficiency: 83%
Boil Duration: 65 min


Grain                                               (Lbs/oz.)   (%)
British 2-row Pale Malt (Pearl)            8           80
Biscuit Malt                                         8 oz.        5
CaraMunich 45                                   8 oz.        5
Victory Malt                                        8 oz.        5
Wheat Malt                                         8 oz.        5

Hops    (AA%)   (IBU)   (Oz.)    (Boil[min])
Saaz        3           12.2       1              60
Saaz        3           10.9       1              45

Yeast
Wyeast 3725 Biere de Garde (Pitched Activator packet into a 1 L starter for 1.5 days)

Water
1 tsp 5.2 pH stabilizer (in mash)
1/2 tsp Calcium Chloride (65 min)
1 tsp Calcium Sulfate (65 min)
1/2 tsp yeast nutrient (10 min)
1 Whirlfloc tablet (5 min)

I mashed in at 1.5 qts/lb and hit ~151-152 initially. I then brought it up quickly to 156 F and brought it back down to about 152 F (I was aiming for 153 F, so finally settled on 152 F). Hopefully the mash created a medium attenuable wort, leaving a nice malty sweetness behind.

The new and improved base for the malt mill
Unfortunately I think I ran into the same problem I experienced with the Scottish 60 Ale. I'm fairly certain I must have a bacterial infection in my 5 gallon mash tun, bacteria that must have taken over after I left the grains in the mash tuns after brewing the barleywine a few weeks back. The larger 10 gallon mash tun seems clean after cleaning it a while back with PBW cleaner. I'm starting to think that the older 5 gallon mash tun however has too many scratches in the plastic that must be harboring these bacteria, that then go nuts when I mash my grains and provide them with food. The same banana-esque aroma was present; a slightly funky/dank smell to the wort and the same aroma when smelling the spent grains. The wort tasted a bit thin too, which I think may be the result of bacteria consuming some of the more complex sugars left in the mash, sugars that would have ultimately otherwise provided body to the finished beer.

Collecting the wort during the sparge
After tasting the Scottish 60 the other day, it tasted fairly strange. It was clean but very watery and dry. Even though it's a low gravity beer, it should have been somewhat sweet as it was brewed with a large portion of specialty malts and mashed in at a high temperature. I'll have to see if I can clean out any remaining bacteria in the 5 gallon mash tun cooler, but it's more likely I'll be buying a new cooler, which won't set me back too much. It's a better solution than ruining another batch of beer.

I also overshot my targeted OG by quite a bit. I wanted to use up the rest of my 55 pound bag of British base malt so I intended on collecting less runoff from the mash, leaving more sugar in the mash and sacrificing efficiency a bit. I was a bit preoccupied though and the sparge ran a little fast. I collected more than I intended but chose to go with it. The beer will be a little bit less sessionable (if it's even drinkable) but should be a good spring beer if it turns out well.

The brewday went well otherwise, so it's too bad I may lose another batch of a session ale that would otherwise be in the keg for the spring, but at least the Biere de Table and the Scottish 60 were fairly inexpensive to produce. I'd rather screw them up than an IPA. The starter did take off fairly quickly, even if the wort I brewed today is a little bit less ideal after the bacteria got to munch on it before I was able to boil it. And although the Scottish 60 ale may not turn out to be a good beer, the yeast repitched from the batch produced a great tasting Wee Heavy after two weeks of fermentation. I'm thinking that the same will happen when I brew a soured Biere de Garde in about two weeks. The yeast should propagate and be just as healthy as if they fermented a healthy batch of beer.

The yeast starter after chilling in the fridge to make the yeast settle to the bottom
The English Pale Ale with American hops and the German Kolsch are still carbonating. I've had lots of trouble trying to get these beers to force carbonate. They foam immediately when I pour them off of the tap, which may be the result of me shaking the kegs too much in an attempt to dissolve carbon dioxide into the beer faster than simply hooking the beer up to gas and letting it sit. It definitely is not be a technique I will be using in the future. Luckily I've been brewing so much, I still have some bottles available to drink. The Belgian Dubbel I brewed in January is finally fully carbonated after a long period of conditioning. 

After taking a sample of the beer I brewed for Laura, the "laurabelle" barleywine, I think I'll be bottling it soon. It tasted unbelievable, and I'm excited to get it into 12 oz. bottles so it can begin to carbonate and condition, (possibly for up to a year) but with the way it tastes at this point, it may not be around that long. I'll have to finish the label as well. It finished out fairly dry for a barleywine (final gravity of 1.025) but is still fairly sweet, and comes in at a whopping 12.3% ABV. It should be a great beer for next fall and winter.